What do mandalas represent?
In Hinduism and Buddhism, a mandala represents the universe and life. As part of their spiritual practice, Tibetan monks create intricate mandalas using coloured sand, which they then sweep away, an activity also practised by the Navajo people in the US.
Its origins may be old, but creating mandalas has become popular as a mindful art activity using colouring books or by making temporary mandala sculptures with natural, found materials.
How to collect the materials for your mandala
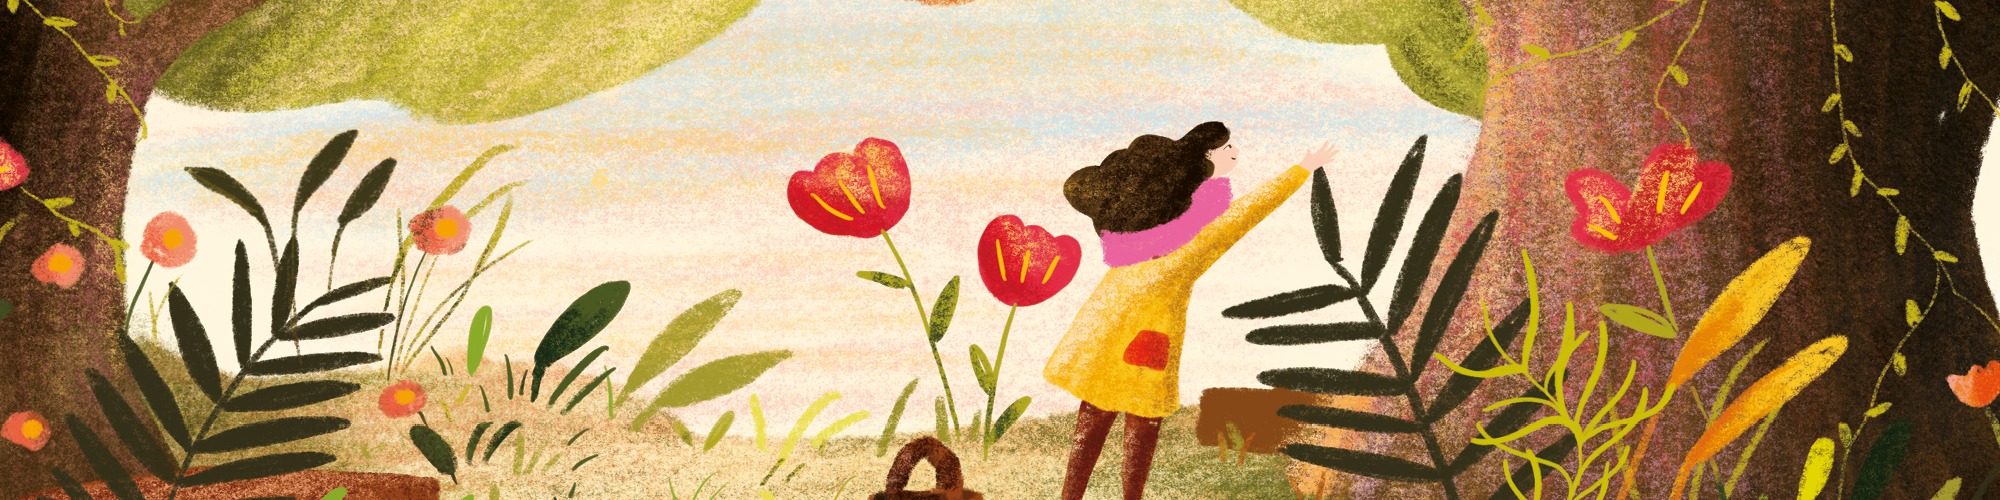
Before you start, it’s useful to have in mind an idea for the type of mandala you’d like to create, so that you can source organic materials of complementary shapes, textures and colours. All the materials you’ll need can be found in the natural environment, particularly in woodland or on the seashore. But remember that while sea glass and driftwood are fine to collect, it’s illegal to take sand or stones from the beach and be careful not to disturb shells that might be home to living creatures.
Be sure to follow any guidelines concerning the use of the land and be careful not to disturb or cause harm to flora and wildlife. It’s best to choose fallen foliage and organic materials that will decompose naturally. Don’t pick flowers or leaves from a healthy tree or plant (only cut garden flowers with permission) and note that some wildflowers are rare and protected, so shouldn’t be touched.
Gather your preferred choice of natural items:
Fallen leaves and pine needles
Seeds like acorns and pinecones
Windblown blossom or petals
Reeds or grasses
Twigs or driftwood
Feathers
Small stones or pebbles of a similar shape and size
Seashells (make sure they’re uninhabited)
Washed-up seaweed
Windblown wild fruit, like crab apples or berries
How to choose a location for your mandala
Pick a safe, peaceful spot with a flat area that can be used as the base for the mandala. Somewhere in a park, forest or on the beach can work well, but bear in mind that passers-by might prefer such spaces to be left looking natural, so it’s a good idea to dismantle your creation afterwards. A garden or yard also works well if you’d like to leave your mandala intact for a while. Or you could make a smaller one on an old tray to bring the outside in.
Five steps for making your mandala
- Plan your design. Before arranging the materials, make a sketch of your mandala on a piece of paper so that you have a template showing where each item will be positioned. Take into consideration the size, colour and texture of each item.
- Select a centrepiece. Begin your mandala at the middle. Choose something distinctive such as a round pebble for the centre point, then work outwards, placing the gathered materials around it, incorporating spirals or repeating patterns.
- Get creative. Let your imagination run wild. Try different combinations of patterns, colours and materials in your layout. It can be small or large, simple or complex and, depending upon the chosen materials, utilise bold or muted colours for contrast.
- Take a picture. Once your mandala is finished, stand back and admire it, and take a few photos as a record of the temporary art you’ve created. Some people have their mandala photographs printed to make attractive cards and wall hangings.
- Take your art apart. While some might enjoy happening upon your creation, others might prefer to see the beauty of the landscape untouched, so if you’ve used a public space, dismantle your mandala once you’ve got a good snapshot and leave the area as you found it.
Read more about arts and crafts projects and nature in Teen Breathe issue 41.