What is the history of floral headdresses?
Flower circlets and laurel wreaths were once a symbol of high status – in ancient Greece and Rome, they graced the heads of athletes, emperors and depictions of gods.
Many cultures, such as the indigenous tribes in the South Pacific islands, incorporate fresh flowers into their ceremonial dress. And pagans don wild flora crowns to celebrate special occasions in nature’s calendar such as Beltane (May Day) and the summer solstice.
A garland of pretty flowers has long been the headdress of choice for wedding celebrations, with blooms often chosen for their symbolic meaning. For example, white blossoms are considered a sign of innocence, while red and pink roses represent love, beauty and joy.
In 1840, at her wedding to Prince Albert, Queen Victoria wore a wreath of orange blossom, which is a symbol of chastity, fertility and good fortune.
The artist Frida Kahlo became known for wearing the most exuberant and exotic floral headdresses, which were often depicted in her striking self-portraits. The Mexican painter loved flowers and her colourful crowns were majestic and seemed to express her distinctly proud and free-spirited character.
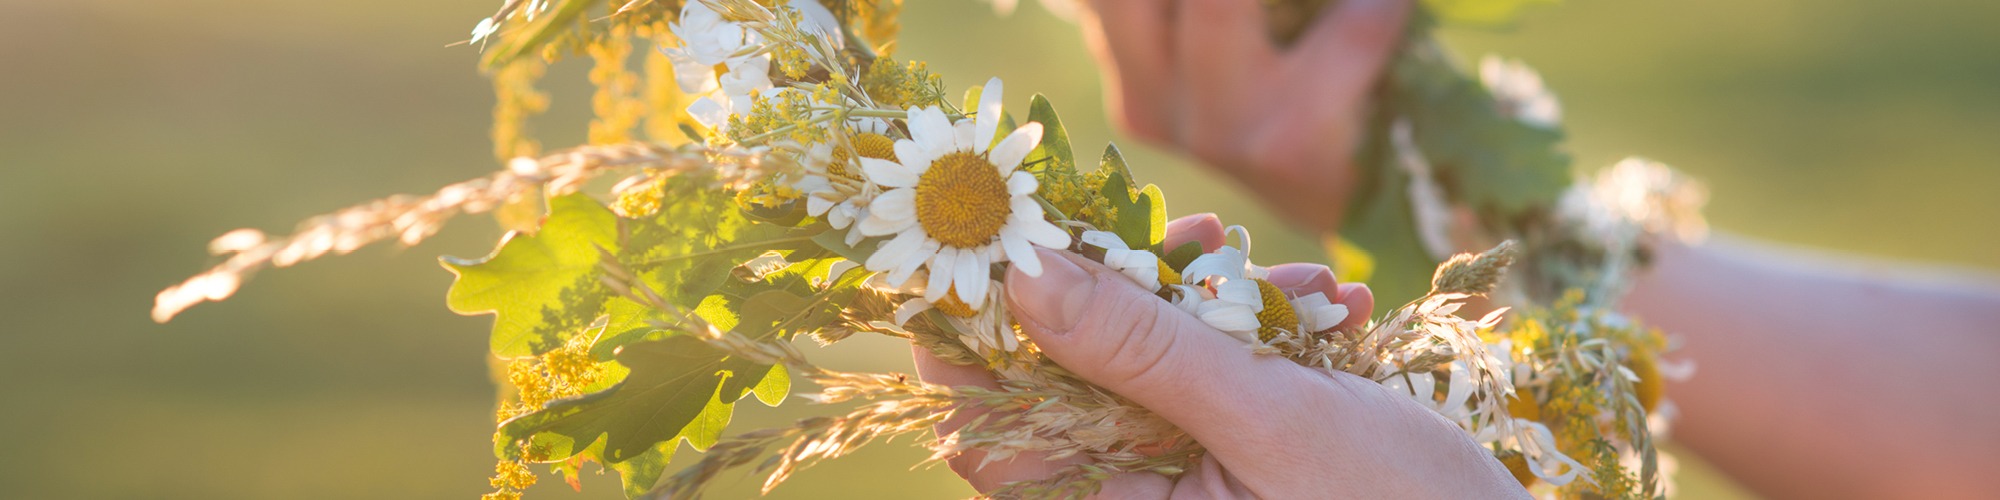
A circlet of fresh flowers or a foliage halo makes an impressive bohemian-style headdress to wear at summer gatherings, picnics and music festivals. And one of the best things about them is that you can make them yourself…
What materials will you need to create your own flower headdress?
A selection of fresh flowers and foliage (silk or paper flowers can be used as an alternative to create a longer-lasting crown)
Thick and thin florist wire
Green florist tape
Wire snips
Scissors
Ribbon
How to prepare the materials for your floral headdress
- Measure a length of thick floristry wire around your head, leaving an extra 2-3cm at each end. Cut the wire to size using the wire snips (take care while using these and make sure they’re kept out of reach of younger siblings). Wrap green florist tape all the way around the wire, making sure any sharp ends are completely covered. Bend each end of the taped wire to form small loops or hooks and attach the ends together to form a circlet.
- Prepare the flowers and foliage by laying out each stem or bunch in the order you’d like them to appear on the crown. Trim each one, leaving about 7cm of stem. Cut a piece of thin wire, about 10cm in length, and twist the wire from just beneath the head of the flower, down and around each stem in a tight spiral. Cover each wired stem and any overhanging wire with green floristry tape.
- One by one, attach the flowers and foliage to your crown, bending them into position with each stem pointing in the same direction. Fasten securely by wrapping the taped wire of each stem tightly around the central circlet. Keep adding the flowers, weaving in delicate greenery between each one, until you have a full crown.
How to add the finishing touches to your floral headdress and keep it fresh
- Fill in gaps and make any necessary adjustments. Add finishing touches such as a length of trailing ribbon attached to the looped clasp at the back of the crown, which can be used as a tie to keep the circlet secure and in position.
- Keep your crown in a cool place until you’re ready to put it on. Cut flowers and foliage will soon wilt, so it’s best to create the crown on the day you intend to wear it. If there’s no choice but to make the crown the day before, spray it lightly with water and leave it in the refrigerator overnight to help keep it fresh.
Read more about arts and crafts ideas in Teen Breathe issue 42.