What are microgreens?
Microgreens, or sprouting seeds, are the little league of grow-your-own. These immature vegetables and herbs are harvested and eaten at the seedling stage. And because they’re not meant to grow into adult plants, they don’t need hours of sunlight or careful tending to grow well. In fact, they’re the ultimate in fast food – making it from plot to plate in as little as six to 21 days after sowing.
And what they lack in size, they make up for in flavour and nutrients. Snipped young and eaten fresh (rather than being transported from supplier to supermarket), they have higher concentrations of vitamins and minerals than fully grown greens.
‘They’re a low-cost, hassle-free way of growing nutritious crops,’ says James Dix, who began growing microgreens in 2017, in a large shed at the bottom of his garden, and now supplies them commercially via his company, MicroGreener, in Northampton in the UK.
‘Vegetable seeds have lovely nutrients locked inside them – but you can’t always eat the seeds. Microgreens allow you to get all those vitamins in a bite-sized plant and have your five a day in one single bowl.’
How to set up your own microgreens growing station
Get your kit: Microgreens are as happy in recycled margarine tubs as they are in conventional seed trays. Just make some small holes for drainage. ‘I’ve grown them in old disposable coffee cups, yoghurt pots, even eggshells,’ says James. ‘Fruit punnets are great because they have premade holes. You can grow in the lid and, [after germination], use the main punnet as a domed mini greenhouse, for humidity.’
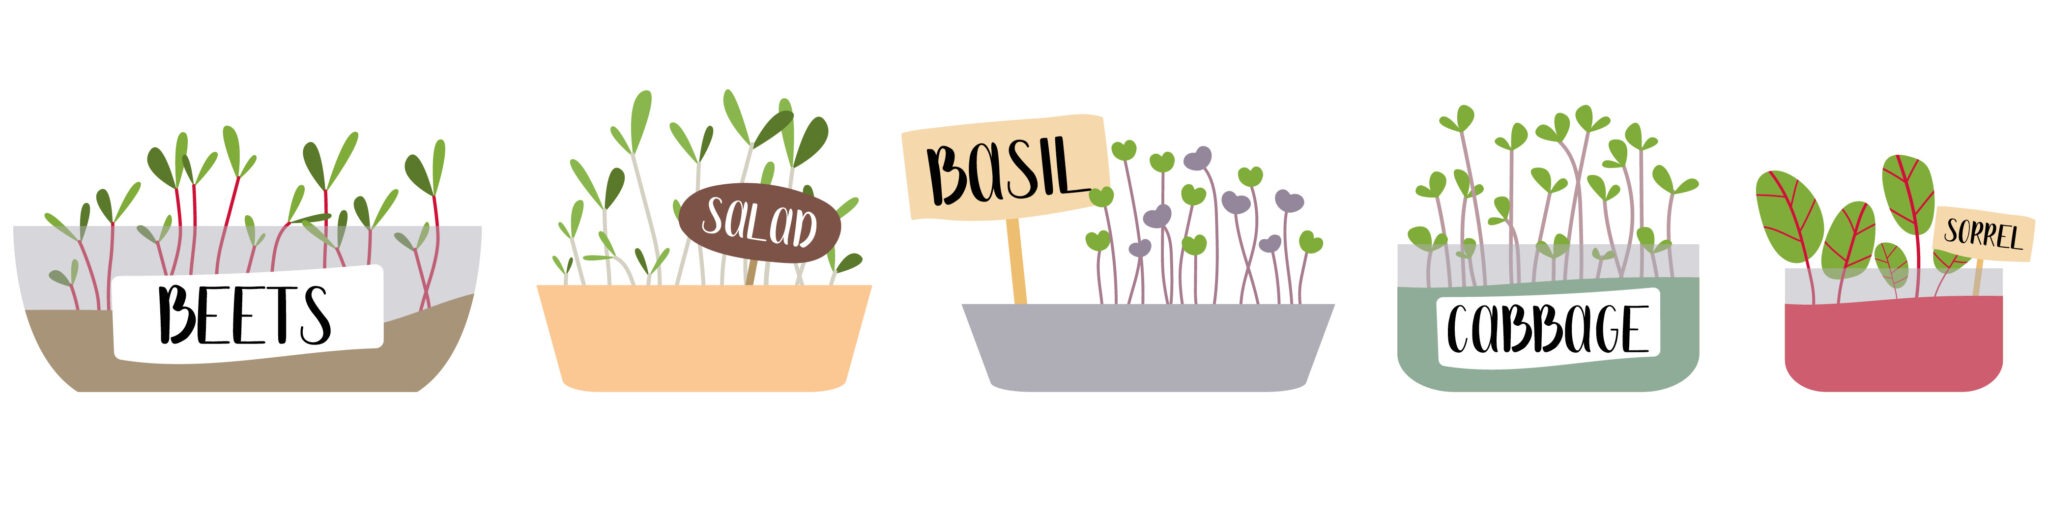
Source your seeds: Seeds for microveg can also be bought cheaply. There are specialist microgreen seeds, available online from suppliers offering a wide range of varieties, flavours and textures. But you could also stock up on sunflower seeds and dried peas from wholefood shops or supermarkets.
Another option is to ask if you can raid your spice cabinet for coriander, fenugreek and onion seeds (provided they are less than two years old).
How to germinate your microgreens
Do your prep: While smaller seeds need no attention, some larger ones, such as pea, sunflower, nasturtium, chard and sweetcorn, like to be soaked overnight to promote quicker and more even germination.
Get germinating: Once the seeds are primed, grab a container (remember it needs drainage holes) and fill it with peat-free compost or a growing medium such as coir or layers of paper towel. Flatten down the compost (if using) and then moisten the growing medium with water, using a spray bottle.
Sprinkle your seeds thinly and evenly on top. It’s fine to ignore any spacing distances outlined on the packets as your plants won’t fully mature, but it’s good to have roughly one seed’s width between seeds.
What your microgreens need to grow
Find a dark corner: They’ll need to be germinated in the dark, so pop a seed tray (without holes), bottom down, over the seedlings and keep them in a cupboard that’s not too warm. This might seem strange, but it will prime the seeds to grow upwards. ‘They like to feel they’re underground,’ says James. ‘And they’ll push up a seed tray in their bid to get to the light – this helps them to germinate evenly and at the same rate.’
Provide water and sunlight: Keep spraying with water if the growing medium appears to be drying out, and check for germination, which should happen in around three to five days. When the seedlings are 1-2cm tall, remove the lid and place the tray on a windowsill. ‘Your top tray can now go on the bottom and become the water tray,’ says James. ‘And the light from the window will help the seedlings green up. It’s this greening process that develops the plant’s flavour.’ This is also when you could pop a transparent fruit punnet over the top, to act like a greenhouse.
How to harvest and serve up your microgreens
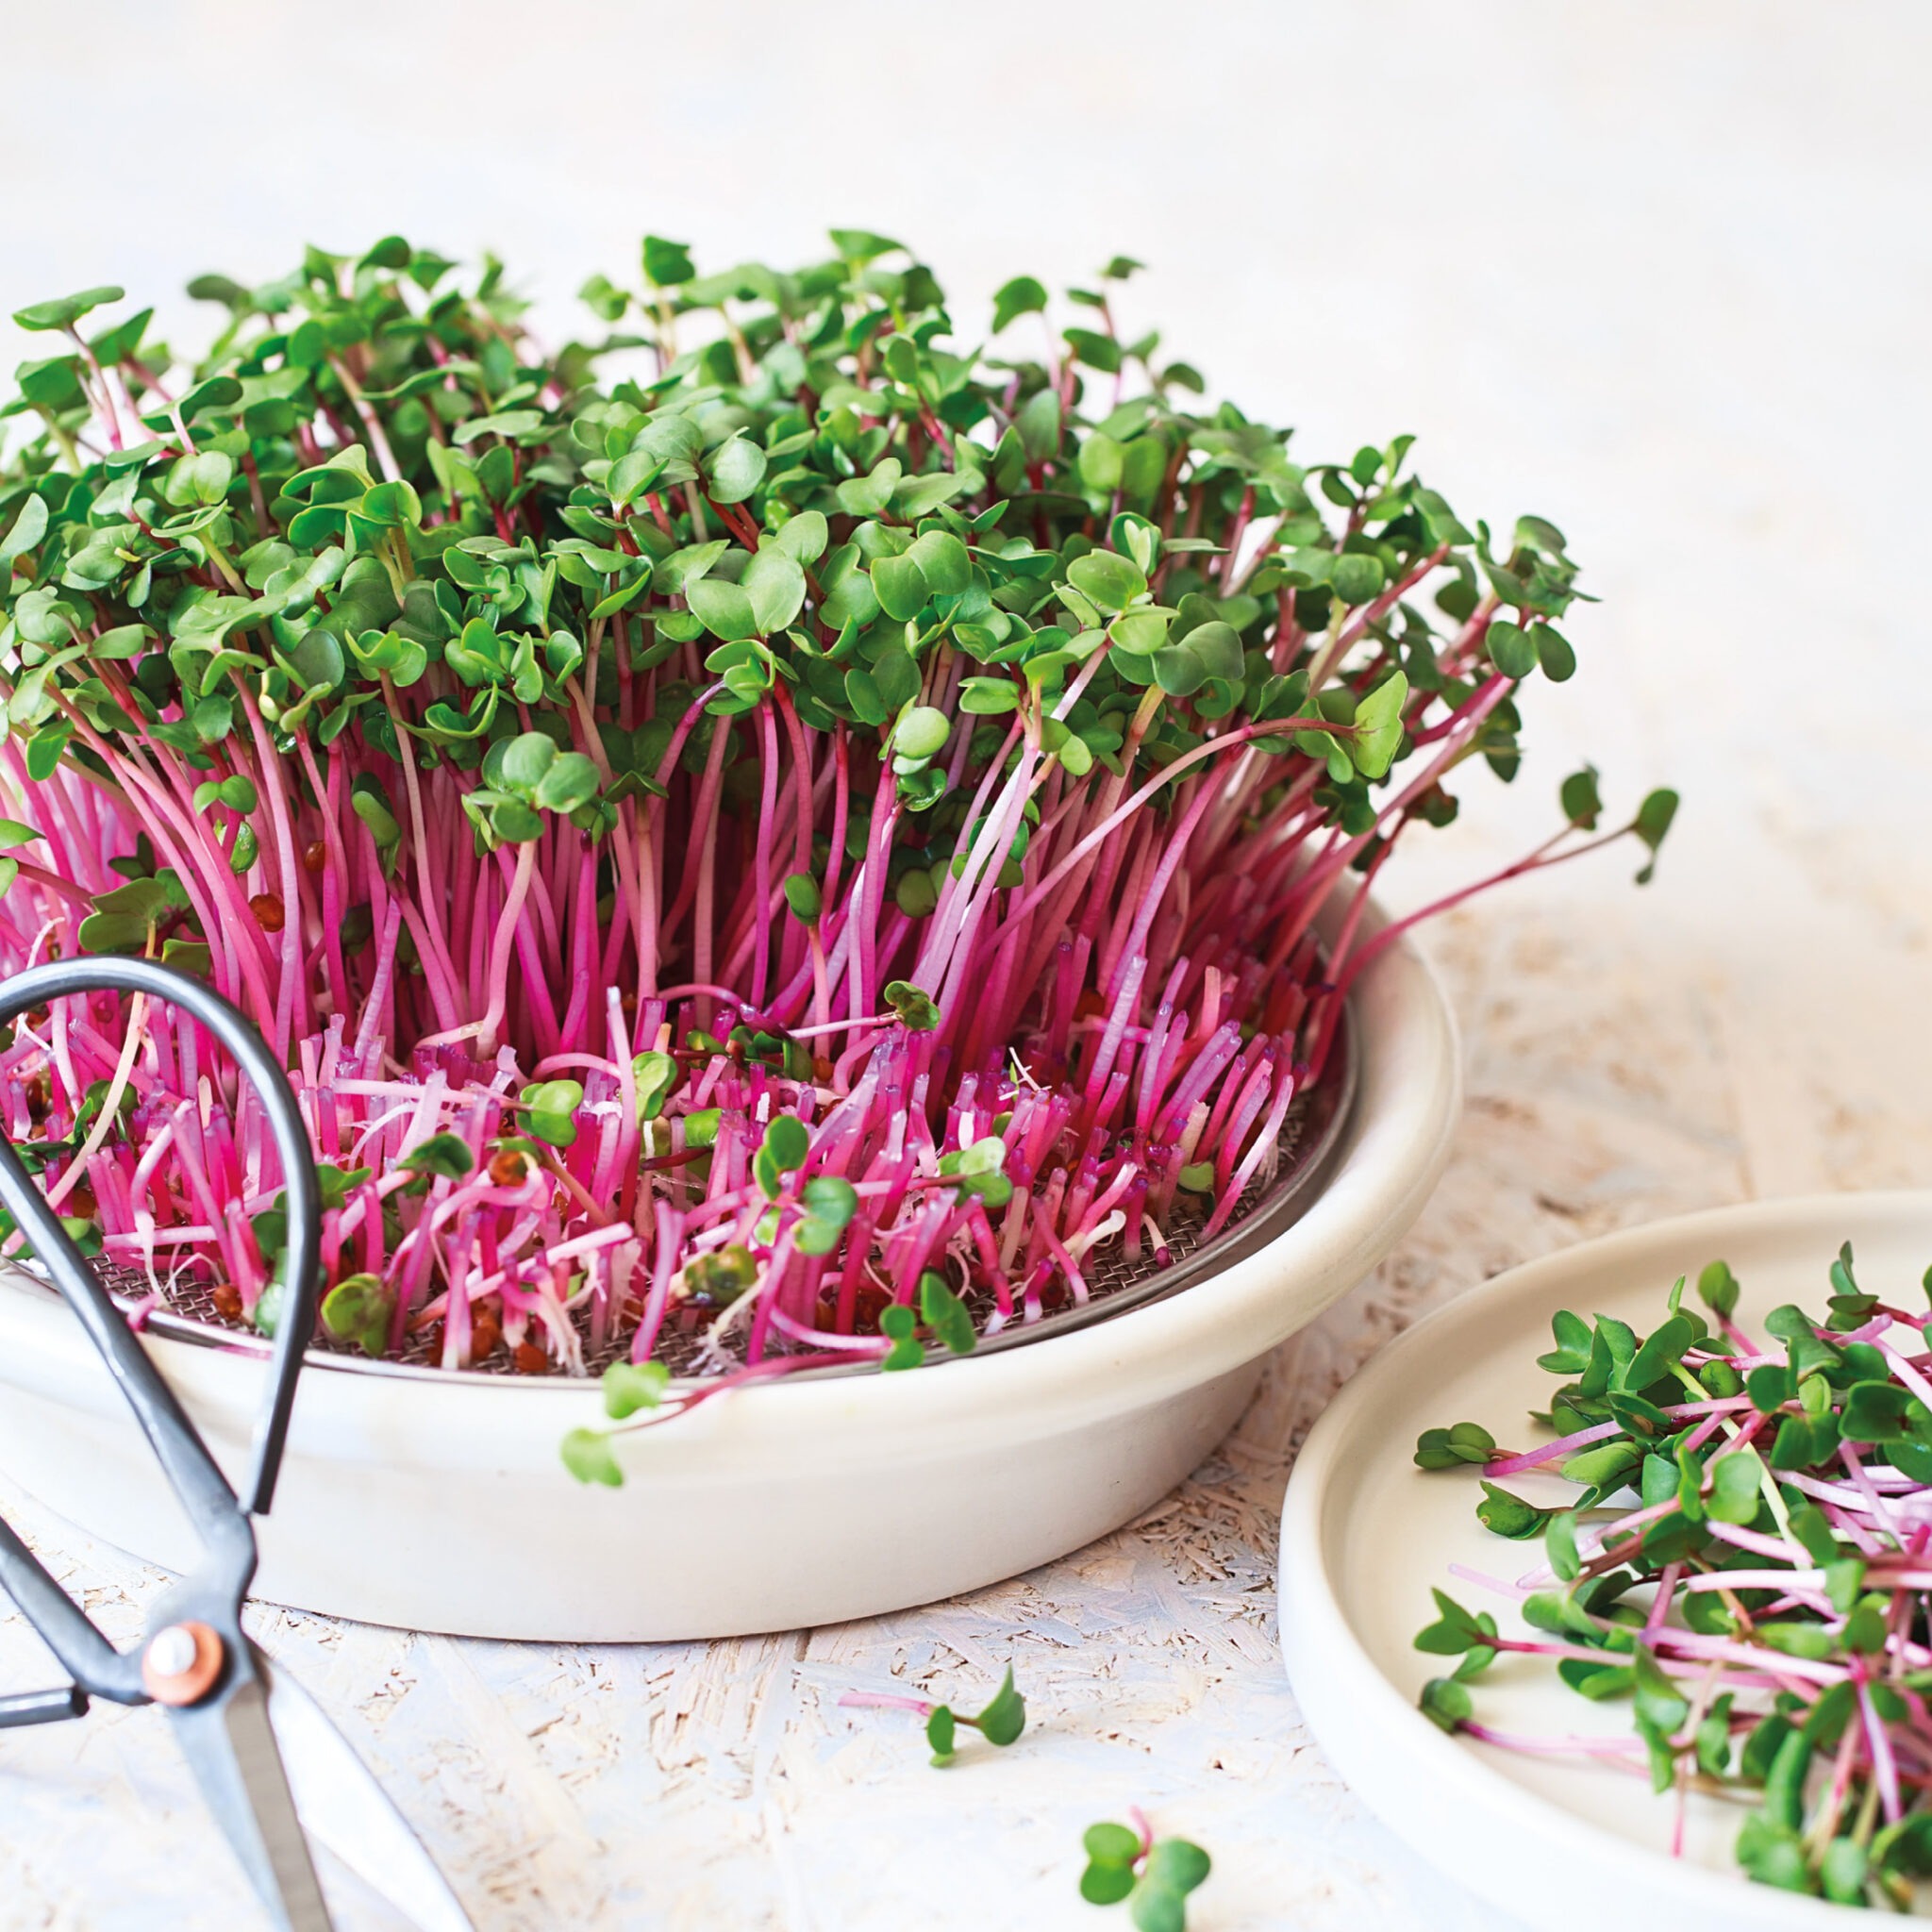
Microgreens are harvested when they’re between six and 21 days old. The timing depends on when the true leaves (ones that look like the adult leaves) pop above the seeds’ leaves (which are usually oval). It’s the baby true leaves that will have the most flavour.
When you think yours are ready, give your seeds a haircut. Using sharp scissors, snip just below the leaves to be used. Leave your shorn seedlings for a week and keep watering, and they might reward you with a second harvest.
You can scatter your vegetable confetti on soups, stews, flans and pizzas, mix into a salad or pop into a stir-fry. ‘Microgreens are great to grow together and eat together,’ says James. ‘They’re also the ultimate, traceable, sustainable food and you know exactly what’s gone into them, and they’re as fresh and untouched as food can be.’
Microgreens can be prone to mould. If you notice mould forming, dispose of the affected plants and move your tubs to a spot where they’ll get more indirect sunlight and ventilation.
You can find out more about James Dix’s company Microgreener here: https://www.microgreener.co.uk
You can read more articles about healthy living in the latest issue of Teen Breathe magazine.